How to Clean Tiles and Grout Properly
Tiles rarely look dirty. Grout does. That grey or brown line between the tiles is where soap residue, body oils, cooking grease and foot traffic collect, and because grout is porous it absorbs all of it rather than sitting on top the way a glazed tile does. Once it has soaked in, wiping the surface achieves very little. This guide covers what actually works, what quietly damages your grout, and when a home job stops being worth the effort.
Work out what your grout is first
Most Australian homes have cementitious grout — porous, chalky, and sensitive to acid. Newer bathrooms and kitchens sometimes have epoxy grout, which is far more resistant and does not absorb stains the same way. The quick test: put a drop of water on the grout line. If it darkens within a few seconds it is porous cement, and it needs sealing after cleaning. If the water beads, you likely have epoxy or a sealed surface and can be less cautious.
Natural stone changes the rules again. Marble, limestone and travertine are calcium-based and will be etched by anything acidic. If your tiles are stone, skip every vinegar suggestion you find online — the damage is permanent and shows as dull cloudy patches that no amount of scrubbing removes.
The everyday clean
Sweep or vacuum the floor first. Skipping this turns loose grit into abrasive mud the moment you add water, and that grit is what wears the finish off tiles over the years. Then mop with warm water and a pH-neutral cleaner. Neutral matters: strong alkaline cleaners break down the grout binder over time, and acidic ones dissolve it directly.
Change your mop water when it goes grey. Dirty water is the most common reason a floor looks hazy after mopping — you are spreading a thin film of everything you just lifted back across the tiles.
Cleaning stained grout lines
For grout that has gone dark, make a thick paste of bicarbonate of soda and water. Spread it along the grout lines and leave it for ten to fifteen minutes. Scrub with a stiff nylon brush or an old toothbrush, working along the line rather than across it. Rinse thoroughly with clean water and dry with a cloth.
Some people add hydrogen peroxide to the paste for extra lift on cement grout. It works, but keep it off coloured grout and stone, and always test in a corner behind a door first.
Two warnings worth taking seriously. Do not use a wire brush — it scratches the tile glaze and gouges the grout, leaving a rougher surface that gets dirty faster than it did before. And do not use bleach as a routine cleaner. It lightens the stain rather than removing it, and repeated use weakens cementitious grout until it starts crumbling out of the joint.
Mould in bathroom grout
Black spots in shower grout are usually mould, and mould is a different problem to dirt. It has roots into the porous surface, so bleaching only removes the colour while the growth stays. Clean it back mechanically first with the bicarbonate paste and a brush, rinse well, then dry the area completely.
Prevention does more than any product. Run the exhaust fan during the shower and for twenty minutes afterwards, squeegee the walls, and leave the door open so the room can dry. Mould needs moisture that sits; take away the sitting moisture and it struggles to establish. If mould keeps returning in the same spot, check whether the silicone seal has failed and water is getting behind the tiles — no cleaner fixes a leak.
Seal the grout when you are finished
Cleaning porous grout and then not sealing it is doing half the job. A penetrating grout sealer soaks in and makes the surface resist water and oil for a couple of years, which means the next clean is far easier. Apply it to grout that is completely dry — usually at least twenty-four hours after cleaning — and wipe any excess off the tile face before it hazes.
Kitchens and bathrooms generally want resealing every one to two years. Low-traffic areas can stretch longer. You can test it the same way you tested the grout at the start: if water stops beading, it is time.
What a DIY clean cannot fix
Home methods reach the top layer. They do not reach staining that has soaked several millimetres into the grout, and they will not restore grout that has already eroded below the tile surface. If you have scrubbed a floor properly and it still looks grey, the dirt is deeper than a brush can go.
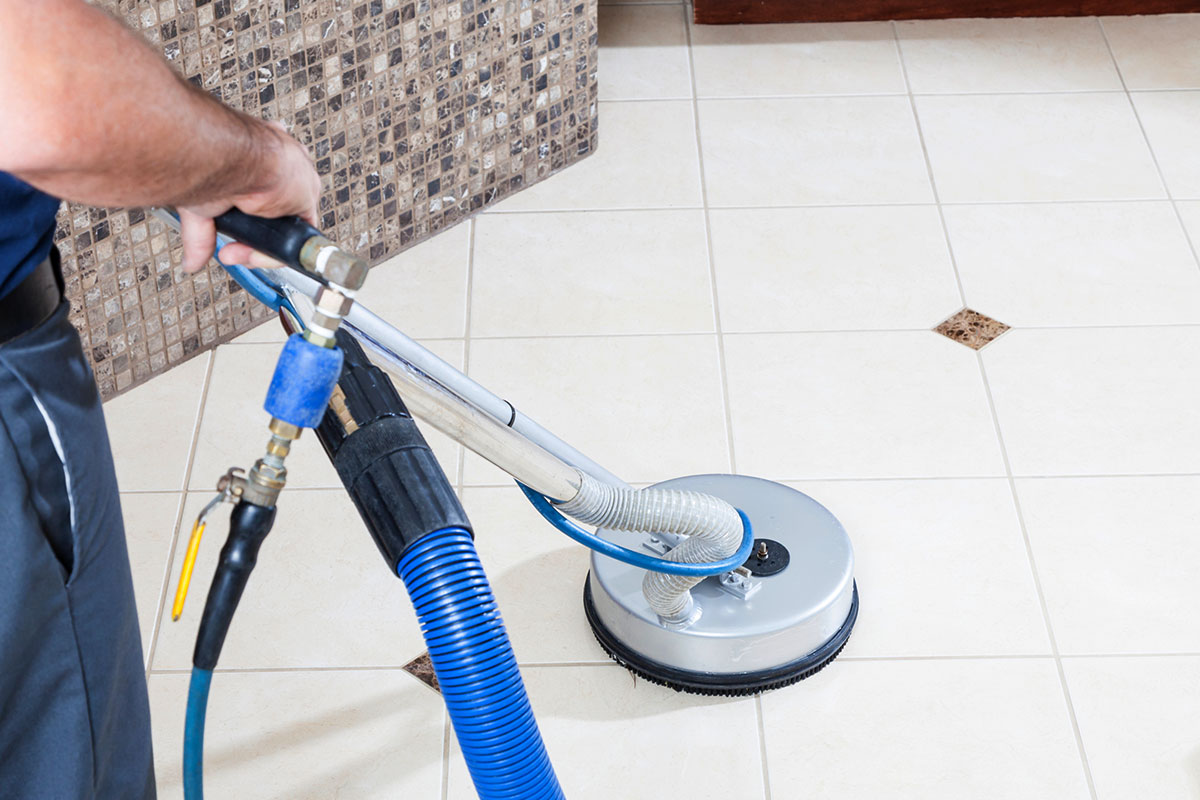
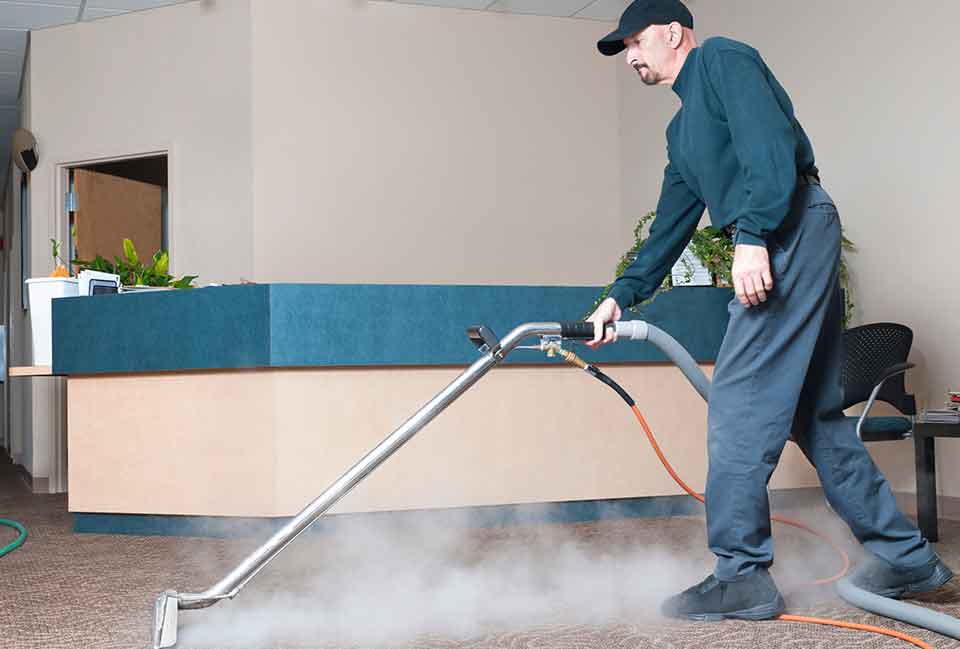
Professional tile and grout cleaning uses high-pressure hot water with a sealed extraction head, so the soil is flushed out of the pore structure and vacuumed away rather than pushed further in. It is the same principle as hot water extraction on carpet. On a floor that has not been cleaned properly in years, the difference is not subtle — grout lines usually come back several shades lighter and stay that way once sealed.
It is also the sensible option before a rental inspection or a sale, where bathroom and kitchen floors are two of the first things people look at.
Get it done properly
Adam’s Carpet Cleaning has been family-run since 2004 with more than 25 years of experience across Sydney, and our technicians are IICRC-certified. We clean and seal tile and grout in kitchens, bathrooms, laundries, entryways and outdoor areas, and we hold same-day and emergency slots for urgent jobs. Pricing starts from $40–$60 per hour, and quotes are free.
Ring 1300 309 276 or request a free quote.
See our tile and grout cleaning service for what a professional job includes. We also offer steam carpet cleaning, rug cleaning and leather cleaning, and you can book online any time. Two related reads: the best homemade cleaner for grout and what causes pink mould and how to remove it.